In conveyor belt repair and pulley lagging operations, the glue application process directly impacts bonding strength and equipment lifespan. Below is a summary of key operational points to standardize the construction process:
1. Pre-Bonding Preparation (Determines Over 60% of Bonding Strength)
Grinding Treatment: Use an angle grinder or sanding disc (recommended grit: 60-80) to grind the bonding surface until it is no longer smooth, achieving a uniformly rough texture.
Purpose: Remove the oxide layer and increase the contact area (enhanced roughness can improve bonding strength by 30%-50%).
Deep Cleaning: Use a specialized belt cleaner to remove oil and dust; avoid cleaners like gasoline that leave adhesive residue.
Test Method: Wipe the surface with a white cloth; no black stains indicate a qualified clean surface.
2, Adhesive Application Techniques (Avoid Delamination/Air Bubbles)
For Conveyor belt repair strips or Conveyor pulley lagging with a semi-vulcanized CN layer, apply only one adhesive layer. Apply evenly to ensure complete coverage, maintaining an adhesive thickness between 0.1-0.15mm. and begin operation when the adhesive becomes slightly tacky to the touch.
Application Prohibitions:
Adhesive buildup (may cause internal stress cracks)
Bonding while wet (unvaporized solvents weaken adhesion)
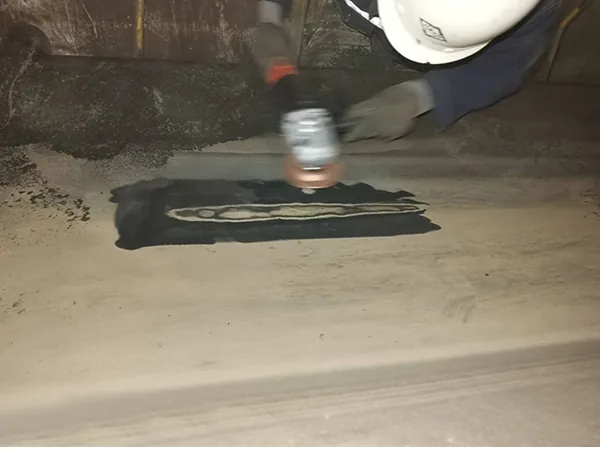
3, Bonding and Compaction (Key Techniques for Air Removal)
Rolling Direction: Roll from the center of the bonding surface outward at a 45° angle, or use a zigzag pattern (avoid straight-line pressing to prevent edge bubbles).
Tool Selection: Prefer a spiked exhaust roller (e.g., Flexco PR-24) with a pressure of ≥5 kg/cm². For narrow areas, use a heat gun to soften the glue layer (temperature ≤70°C) before pressing.
4. Quality Inspection Standards
Common Mistakes & Remedies
Air Bubbles: Inject repair adhesive (e.g., TRS2002, SC2000) with a syringe, then re-roll.
Partial Debonding: Cut open the defective area, re-grind, and reapply adhesive (extend repair area by at least 20mm).